Here to Help: Penzey’s Spices

Here to Help is a segment where I will explore different people, places, and things that are here to help you on your cooking journey. 

The quickest way to resuscitate a dying dish or enhance a jarred sauce is to add spices. To do so, you could just go to Target or Walmart and pick up whatever they have on the shelves, not knowing quite how long it’s been there or you could take a chance and explore you local neighborhood spice shop. This weekend, that is exactly what I did.

IMG_0393

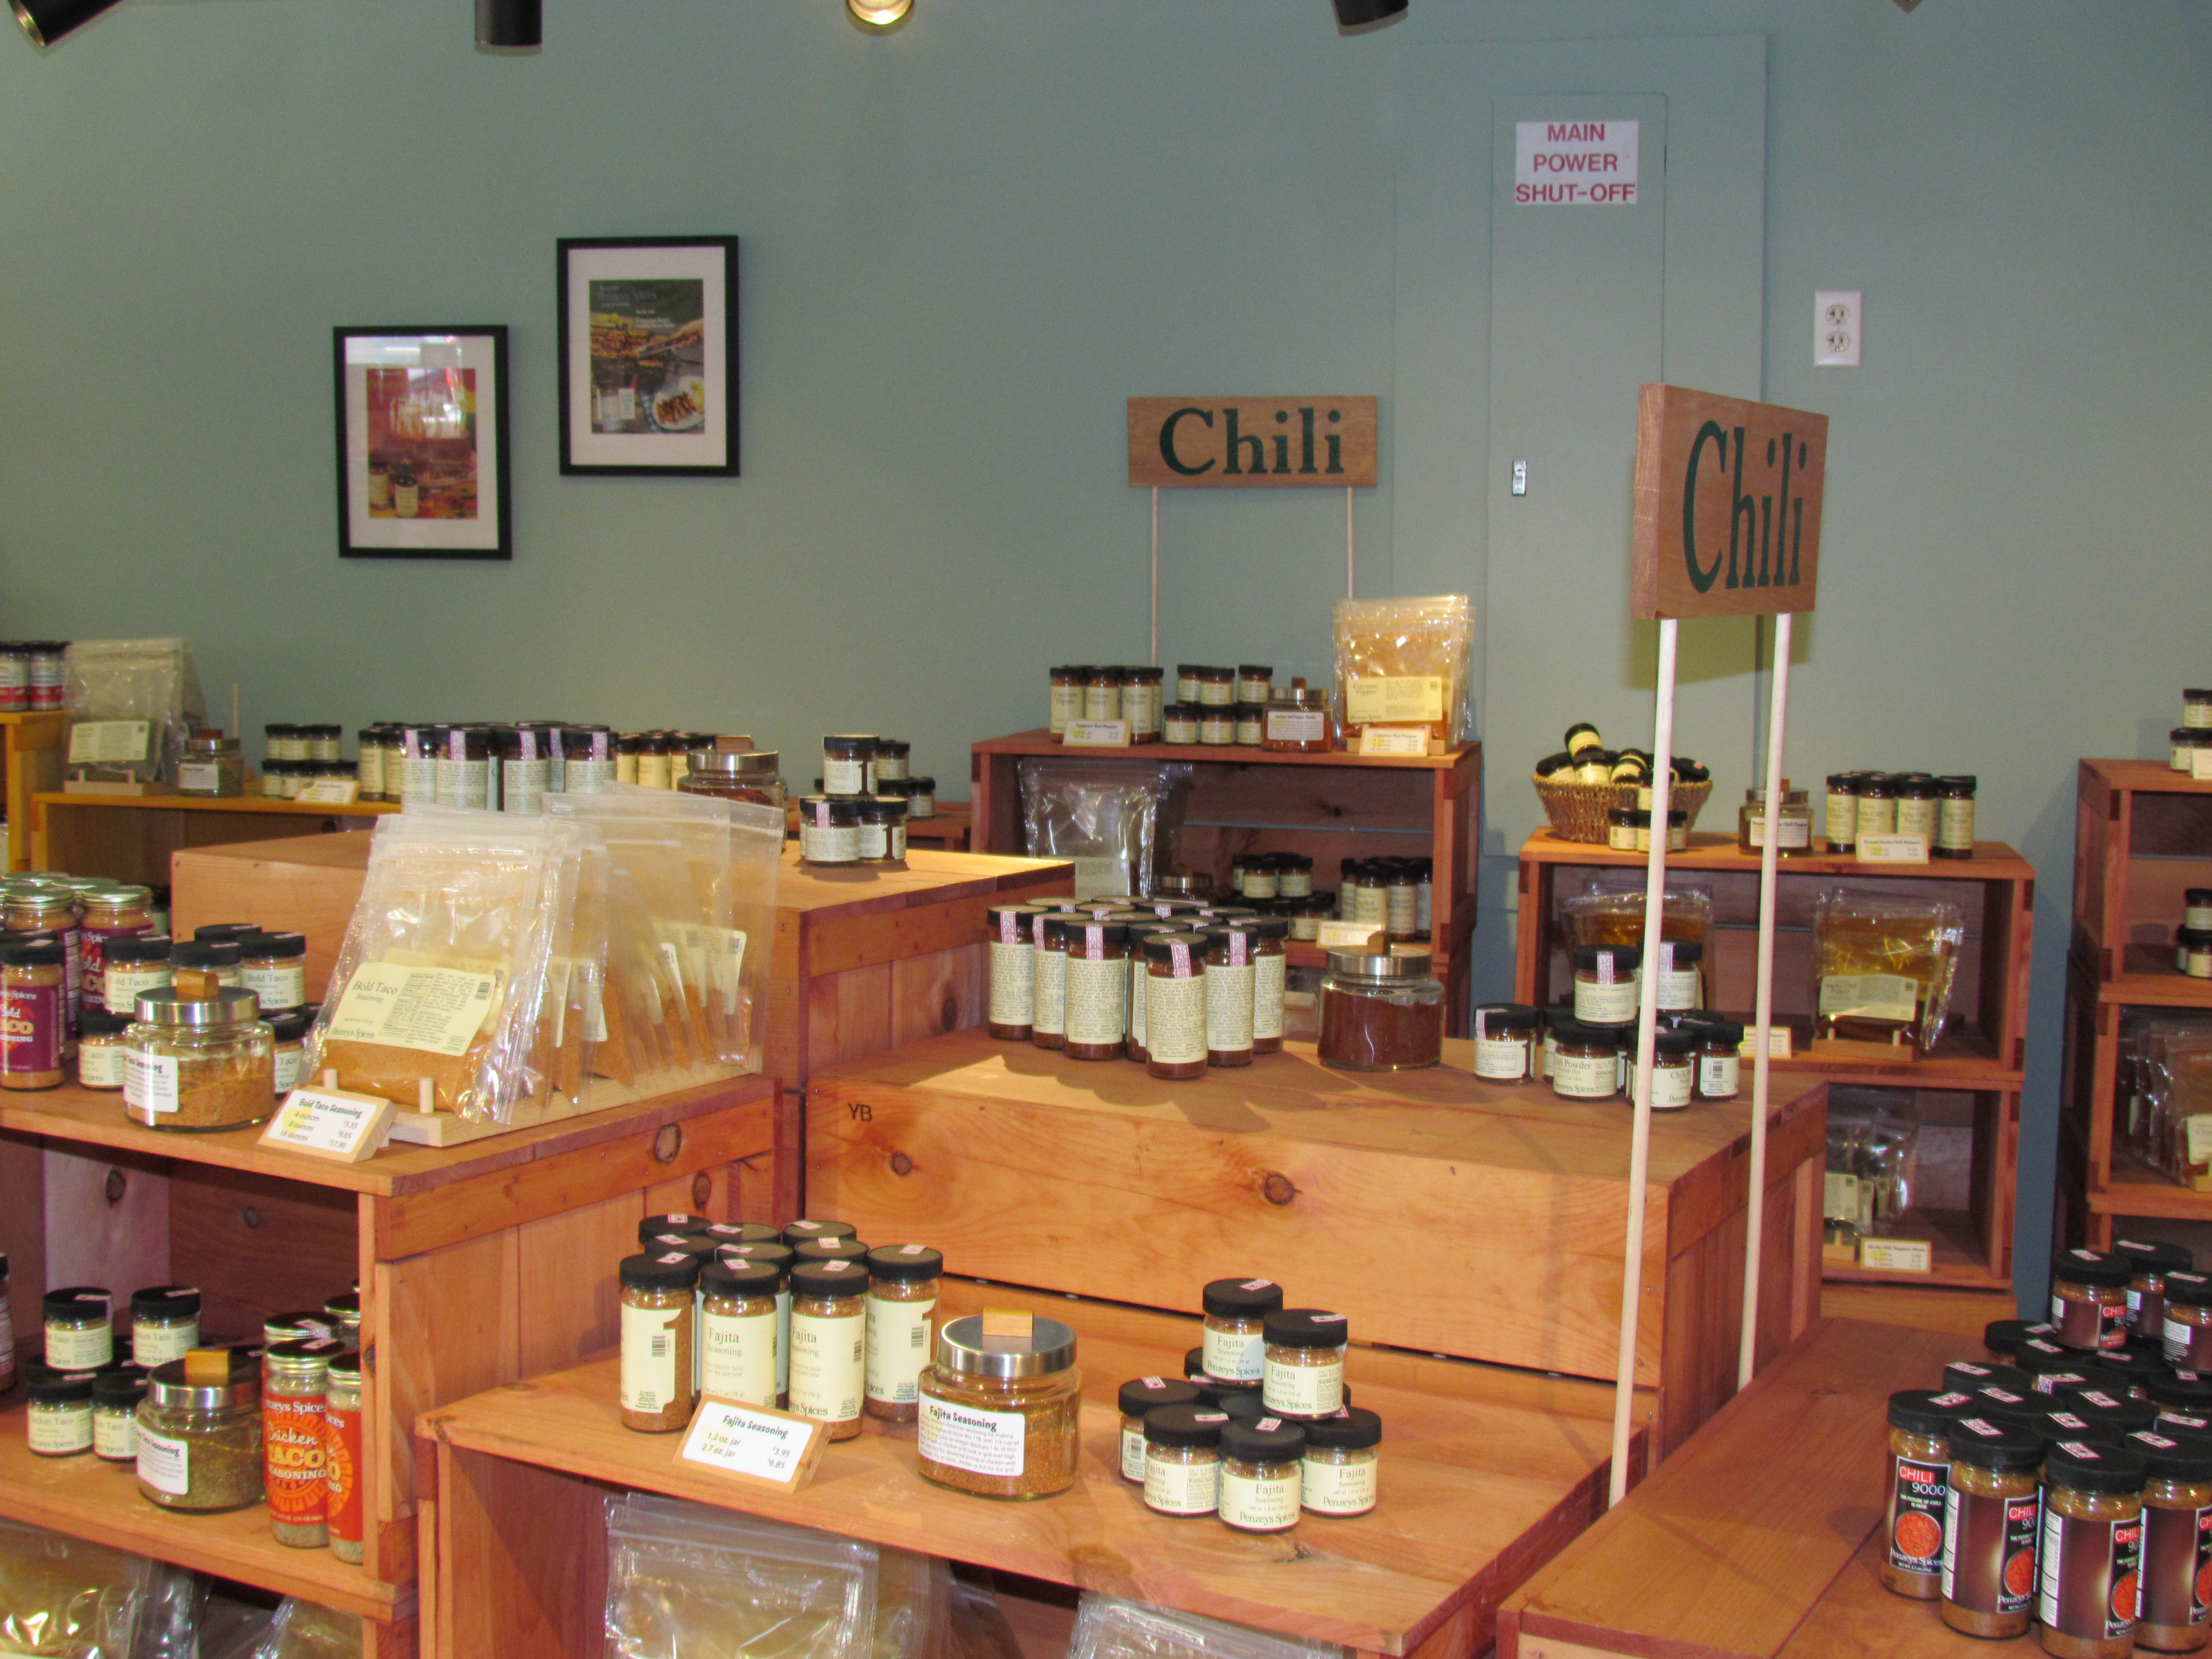
In my (now ended) quest for inexpensive, quality vanilla beans, I learned about Penzey’s Spices. Penzey’s is a chain shop, with over 60 locations (including one in Buffalo, NY, my hometown!), but  when you walk in, any pre-fabricated ideas about what a chain is supposed to feel like are immediately dispelled.

IMG_0396  IMG_0395

Penzey’s is expertly set up so that the savory spices are the first thing you encounter when you walk in. You can find your basics including sea salt (ground coarse or fine), peppercorns (green, pink, or white, among others), and ground pepper, or your more exotic spices such as chinese five spice, saffron, and curries. Also, available are a number of spice mixes in the form of rubs, such as Jamaican Jerk (it was really hard to walk away from this one) and chili mixes.

IMG_0397  IMG_0399

IMG_0400  IMG_0419

If you can tear yourself away from the plethora of savory spices, you are rewarded with Penzey’s vast collection of sweet spices. The sweet spices are set up in a manner in which I would imagine an apothecary in the time of Shakespeare and I love it! There was every kind of extract imaginable including lemon, orange, and of course, vanilla. But not only was there regular vanilla extract (which smelled divine by the way), but also double strength vanilla so you can use half as much, but still get all the flavor.

IMG_0405  IMG_0410

In addition to extracts, there were also very potent vanilla beans (from Mexico and Madagascar), vanilla sugar, and massive amounts of cinnamon from whole to ground. If you’re going to be making any desserts, you need to stop at Penzey’s.

IMG_0404  IMG_0406

IMG_0412

The final area in the store is devoted to prepackaged gift boxes. There were lovely sets intended for wedding gifts, the starter cook, and a basic variety pack. While the sets are a little expensive, they are well thought out, and the spices within each set are well-matched.

IMG_0411  IMG_0414

IMG_0417  IMG_0415

So you’re probably wondering what I ended up with, huh? I was actually very reserved and only purchased some Madagascar Vanilla beans, herbs de provence (very good with pork), sweet curry (to try and replicate some delicious wings from Buffalo Wild Wings), wasabi powder, and an empty jar for only $20!

Obviously, I am infatuated with this store and may only purchase my spices from here from now on. But I forgot to tell you the absolute best part of Penzey’s: there are samples of every.single.thing in the store so you can smell, feel, and even taste before you buy. So, if you’re looking for that one special thing to take your dinner from good to great, I strongly suggest (re: telling) you run, don’t walk to your nearest Penzey’s. And then report back and let me know what you got!


Freshman Friday: Avocado Egg Salad

Welcome back for another edition of Freshman Friday, a weekly installment using only kitchen appliances that can be used in a dorm and food stuffs that can fit in a mini fridge.

Eggs are amazing. Hard boiled, soft boiled, over easy, over hard, and, of course, scrambled with cheese. In any iteration, these portable protein powerhouses (oooh, natural alliteration) are one of that staples for any fridge, big or small.

So, how do you cook the eggs without leaving your room? Well, if you want over easy, over hard, or fried, I’m still working on figuring that out. I’ve already showed you that eggs can be scrambled in the microwave. So all that’s left are boiled eggs and for that, a rice cooker is very handy.  A rice cooker should not be limited to making only rice (and actually, since I prefer brown rice, I haven’t used my rice maker to make rice since I got it). In fact, a rice cooker can be used to cook anything that needs to be boiled or steamed. I’ve cooked pasta and eggs, in addition to steaming vegetables (fresh and frozen) and some frozen (though thawed) dumplings. So get one, post haste and let’s get cooking!

Avocado Egg Salad on Rice Cake

Avocado Egg Salad

Avocado Egg Salad Ingredients

Adapted from Australian Avocado

Ingredients

  • 4 Eggs (Missing from the photo because they were still boiling)
  • 1 medium sized avocado
  • 2 stalks of celery
  • 1-2 tbsp of sweet relish
  • 1-2 tbsp of dill pickle juice
  • Various seasonings (I used pepper, Old Bay, and garlic powder)

Directions

  1. Boil your eggs, obviously. 
  2. When cool, chop your eggs into pieces. For ease, I like to cut my eggs in half, lay one half down (flat side down), cut in one direction, and, while squeezing the egg to keep it together, rotate and cut in the other direction for a loose dice.
    IMG_0366  Dicing Eggs: Step 2
  3. Put eggs in bowl. Next, slice open the avocado and slice the celery. For this recipe, I would suggest getting a slightly overripe avocado (an avocado that is very soft when squeezed) unless you have a blender. For this recipe, I used my Magic Bullet (six years and still going strong!) to blend my avocado chunks into a mayo like texture. Once done, add avocado and celery to eggs and mix.
  4. Next, add your sweet relish and dill pickle juice. I use a 1:1 ratio (meaning I add them evenly). If you’ve never made egg salad before, I suggest starting with the smaller amount, tasting, and either adding more or leaving it alone. Finally, season to taste and mix.

Avocado Egg Salad

Now, you can enjoy your egg salad right away, but I prefer to let it cool in the fridge and then top a rice cake with a slice of cheese and a quarter cup of salad. This is not the best looking recipe, but the avocado provided a creaminess similar to mayo and my addition of spices (and the pickle juice) helped to round out the flavor.

Final Verdict: Delicious

Crockpot French Toast and Happy New Year!

Happy New Year! Hope you had a good evening and got home safely. Got any resolutions you want to share? No? Well, I’ll share one of mine to get started: to eat breakfast more. So you’ve probably heard that if you eat a filling breakfast, you’re more likely to eat less throughout the day, right? You’re also less likely to get raging headaches from hunger around 10 AM. But because I like to get to work at 7 AM (I know it’s crazy, but I love the quiet and I get so much done) if I have to cook anything, I probably won’t eat breakfast on that day.

So, I’ve decided that I need to expand my “wake up and go” arsenal. I’ve already got my make ahead breakfast burritos that I can prep and freeze, but sometimes I want something different. Enter the crockpot which, in my opinion, is one of the best kitchen appliances (after the KitchenAid standmixer and all of it’s glorious attachments, of course). I have two, a regular 4 quart (I get 8-10 servings depending on the recipe) and a mini 2 quart. The best thing about the crockpot is that you can put all the ingredients in, turn it on, and walk away (or in my case, go to sleep). So let’s add another arrow in the breakfast crossbow.

Crockpot FT Complete

Crockpot French Toast

Adapted from The Cake Eccentric’s Blog

The 4 quart fed 6-7 people. I believe that the 2 quart could comfortably feed 2-3 people (unless you’re trying to feed a guy, then you might just want to break out the 4 quart).

Crockpot FT Ingredients

Ingredients

  • 1 loaf of bread (for a 4 quart) or 1/2-1/3 of a loaf of bread (for the 2 quart)
  • 9 eggs (for a 4 quart) or 4 eggs (for the 2 quart)
  • 1 1/2 cups of milk (for a 4 quart) or 3/4 of a cup of milk
  • 2-3 tbsp of cinnamon (for a 4 quart) or 1-2 tbsp of cinnamon (for a 2 quart)
  • 3 tbsp of brown sugar (for the 4 quart) or 2 tbsp of brown sugar (for a 2 quart)
  • 1 tbsp of sugar (for the 4 quart) or 1/2 tbsp of sugar (for a 2 quart)
  • 2 tbsp of vanilla (for the 4 quart) or 1 tbsp of vanilla (for a 2 quart)
  • 1/2-1 tbsp of nutmeg (for either size)

*Note: I really like cinnamon and nutmeg, so you may want to start with half of the suggested spices and use your sense of smell to adjust from there. Remember, this is a cooking recipe which means that you can adjust to your liking (don’t do that with baking). But, please just smell to adjust your spices, this is not a part of this recipe that you want to try. I do not advocate eating raw eggs (unless there’s also a little four and maybe some chocolate chips).

Directions

  1. Mix all ingredients, except for the bread. 
  2. Cut the bread however you like. I cut my slices diagonally. This just makes it easier to fit the bread in the crockpot. IMG_0353
  3. Spray your crockpot with cooking spray (or use a crockpot liner, but for some reason I do not like them very much).
  4. Dip your bread slices in your egg mixture and place in the crockpot. Here, you should get your dish with your egg mixture as close as possible to your crockpot. The farther away from the crockpot the dish is, the more egg mixture you’ll have to clean up.
  5. After dipping and putting all of your bread in, pour the remaining egg mixture in the crockpot. At this point (because I love the smell and feel it needed more) I added some additional sprinkles of cinnamon and nutmeg. IMG_0354
  6. Now, cook on low for 6 hours on low in the 4 quart making sure to take the lid off for the final 10 minutes. There are not many crockpot recipes that I have come across where the crockpot needs to be turned off after the dish is done, but this one is. The french toast crust will begin to harden in a not-so-pleasant way. I’m going to have to try and update this at a later date, but I think that 2-2.5 hours on low would be good.

Crockpot FT Sliced

This was amazing, you got the delicious taste (and smell) of french toast upon waking. This recipe made my house smell so good and the crockpot almost did not make it to work. And then it was slightly crusty on the outside and warm and soft on the inside. I added a little bit of syrup, but next time, I may make some spiced whipped cream and powdered sugar.

So, what do you think? Do you have any other breakfast secrets? Let me know in the comments. And, once again, Happy New Year!

Final Verdict: Delicious

Freshman Friday: Sweet Potato Hasselback

Welcome back for another edition of Freshman Friday, a weekly installment using only kitchen appliances that can be used in a dorm and food stuffs that can fit in a mini fridge.

So, I don’t know if you’ve noticed but I love cheese. Like I love the stuff. I do not think there is anything that cannot be made better by cheese. I dare you to find something. Go ahead, I’ll wait. On second thought, no I won’t because we have to get on with it. So, this is another recipe that you’ll need to do in the commual kitchen and I’d advise you to take a book or a movie, or some homework (hahah, just kidding) and wait until this is done. I personally would never take someone elses food, but if I saw this, I would be tempted. 😉

IMG_0283

Sweet Potato Hasselback Adapted from A Cozy Kitchen

IMG_0279

Ingredients

  • 1 large sweet potato
  • 4-5 tbsp of butter
  • 6 oz of cheese (I used a nice fresh Gouda that I got from the supermarket. It’s a little more expensive, but well worth it.)
  • Basil
  • Pepper

Directions

  1. Preheat your oven to 375 degrees.
  2. Wash your poatato and with a larg knife (please be careful!) cut slits into the potato. Take care not to cut through the potato. I was not careful and ended up cutting off both of my ends, but it was okay.
  3. Slice your butter and 4 oz. of your cheese into 1 tbsp chunks.
  4. Place your potato on a large piece of foil.
  5. Now, there are two ways to do this. Option 1: If you can, wiggle your butter and cheese in between some of your slices. Option 2: Just layer your cheese and butter on top of your potato.
  6. Tent your foil over the potato, but do not let it touch the butter and cheese.
  7. Put you potato in a baking dish and into the oven for 70 minutes. Once it’s done, open your foil and top with the remaining 2 oz. of cheese (sliced or shredded) and stick your potato under your broiler for 2 minutes or until golden. Your broiler may be at the very top of you oven or it could be at the very bottom, just look around. Also, when you broil things, they will cook quickly so do not walk away unless you want to risk destroying your entire meal.
  8. Once it’s broiled, remove the potato from the oven, top with basil and pepper and enjoy!

IMG_0285 This is amazing because the skin gets nice and crispy, but the inside of the potato remains smooth and creamy. And then you add the tartness of the cheese balancing againt the sweetness of the potato and I was in heaven! You should do this! If you do, let me know how it turns out.

Final Verdict: Delicious

Roasted Chicken with Vegetables

So, now that you have seasoned your cast iron cookware, what to cook? Well I say you should roast a chicken! Why? Because it’s easy and very impressive. Now, as I quickly learned, I am in no place to tell you how to carve a chicken, but I can get you from raw to cooked, so let’s go!

IMG_0348

Roasted Chicken with Vegetables

Roasted Chicken Ingredients

Ingredients

  • Whole Chicken (I used a 3.8 lb chicken in a 5 quart dutch oven)
  • Oil (I used canola because that’s what I had, but any oil will work just fine.)
  • Various spices (I used garlic powder, salt, pepper, Old Bay, italian seasoning, basil, rosemary, and cumin.)
  • Various vegetables for roasting (I used red onion, carrots, and Brussel sprouts)
  • 1-2 potatoes
  • 1-2 lemons
  • 1 bulb of garlic

Directions

  1. VERY IMPORTANT NOTE: Before we jump into the cooking, please remember that you are messing with raw meat here. Every.Single.Time you switch from touching the chicken to anything else, you need to wash your hands. Throughly. With soap. Also, Every.Single.Thing that is touched by the chicken (cutting board, colander, knife, etc.) needs to be washed thoroughly with hot water after you are done using it. Okay, now back to our regularly scheduled program.
  2. Since you are not allowed to use your cutting board after it is touched by the chicken unless you wash it thoroughly (broken record? well, you’ll thank me when you’re not sick!) I strongly suggest that you begin but chopping all of your vegetables and potatoes into manageable pieces. There’s no right or wrong here, you just don’t want your pieces to be too large. One suggestion I do have is to only quarter (as opposed to slicing or dicing) the onion since it will shrink during roasting.
  3. In a large bowl, toss your vegetables and potaotes with 3-4 tbsp of oil and a healthy sprinkle of each of the spices you plan to use on your chicken. Set aside. IMG_0325
  4. Next, slice your lemons in half and set those aside.
  5. Preheat your oven to 425 degrees.
  6. Rinse off your chicken and dry it completely. Lift up the wings and the legs to dry off all the nooks and crannies. If your chicken is wet when it goes in the oven, you won’t get that nice crispy skin that everyone loves.
  7. Next, (and this was the worst part for me) stick your hand inside the chicken and pull out anything inside. Luckily, I did not have anything in there, but you don’t want to be like my mom who left the gizzard bag in a turkey one year and scared the mess out of everyone. Learn from our mistakes.
  8. In a small bowl, mix 1-2 tbsp of each of your chosen spices with 4-5 tbsp of your oil. Combine and spread over the entire chicken. Be liberal and don’t worry about getting oil on your counter. It will happen and you will clean. It is okay. IMG_0328
  9. Next, stuff your chicken with as many lemon halves as you can manage (but save one half for later), one quarter of your onion, and as many cloves of garlic as you like. You do not have to peel the cloves, just stick them in there. If you’ve never had roasted garlic, you’re in for a treat. IMG_0337
  10. Now, layer a small spoonful of vegetables in the bottom of your roasting pan (or dutch oven) so that the chicken will not just sit in it’s own juices during the cooking process.
  11. Put the chicken on top of the vegetables and spoon more vegetables around the chicken. Try to leave as much of the chicken showing as you can so that the skin can crisp. I actually ended up having to roast some of my vegetables in a skillet so that my chicken wasn’t covered. IMG_0340
  12. Put the chicken (and any extra vegetables) in the oven for 45 minutes. After 45 minutes remove the chicken and squeeze the lemon half that you saved over it. Squeeze hard so that you can get all of the juice out. I did this because I couldn’t reach the chicken juices to baste, but I think it added another (amazing) layer of flavor. Lower the oven temperature to 400 degrees and cook for another 45 minutes.
  13. Once the chicken is done, pull it out of the oven and walk away. Do not touch the chicken for ten minutes because if you touch, you’ll want to cut, and if you cut, all the delicious juices will run out and you’ll be left with a very dry (and sad) bird. After ten minutes, dig in!

IMG_0348 Isn’t she lovely?

Fianl Verdict: Delicious